|
Notice: To be able to perform the update smoothly, we recommend that you perform our preparation for installation. This will ensure that you have all the information you need during the installation process. Place the bestzero.ini created here in the same folder as the best_zero_srv.exe before you run it to automatically fill in the fields in the installer. An already created file of the initial installation can be reused.The ZIP archive containing the preparation page can be found here:
|
In this chapter you will learn how to update your existing bestzero® installation with authentication server.
To update the bestzero® server, run the installation wizard "best_zero_srv.exe" as administrator. This will then guide you step by step through the update of the installation.
1. Stop running services
Please stop all Cordaware services via Windows Services Management before updating.


The services Cordaware_best_zero_hive, Cordaware_bestinformed_best_srv, Cordaware_bestinformed_best_web and Cordaware_bestinformed_best_data must be stopped in advance.
2. General information:
|
In the following steps, general information is first required for the installation. |
2.1. At the beginning of the installation your license key "bestinformed6.regkey" is required, which you have received from the license management of Cordaware.
To do this, click on Browse ... and then select your license key.
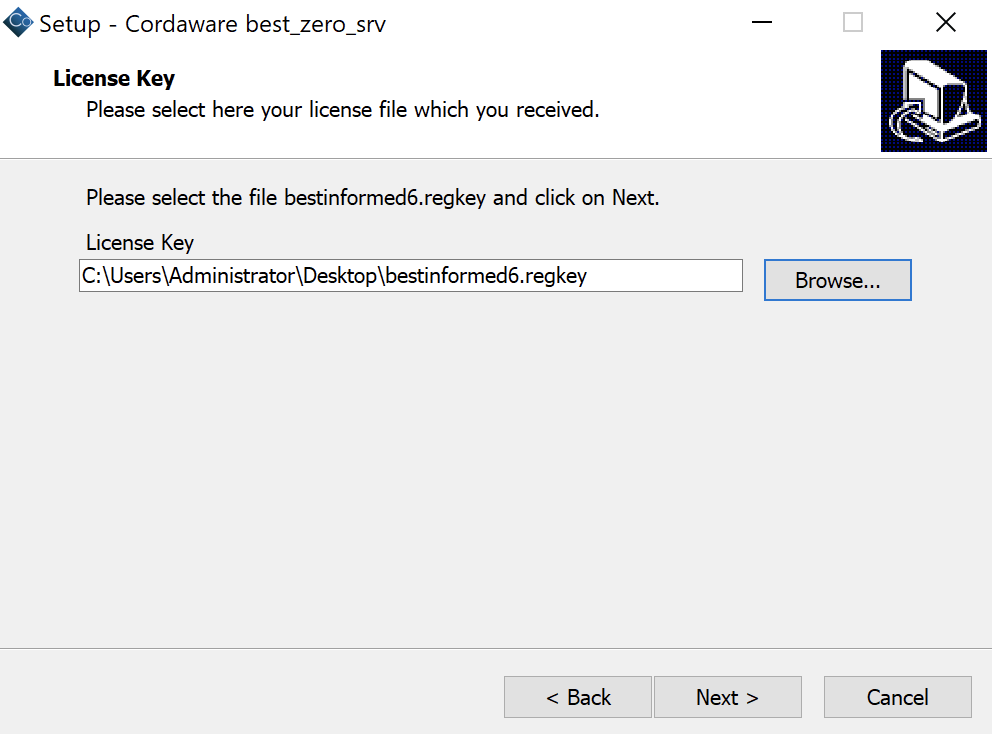
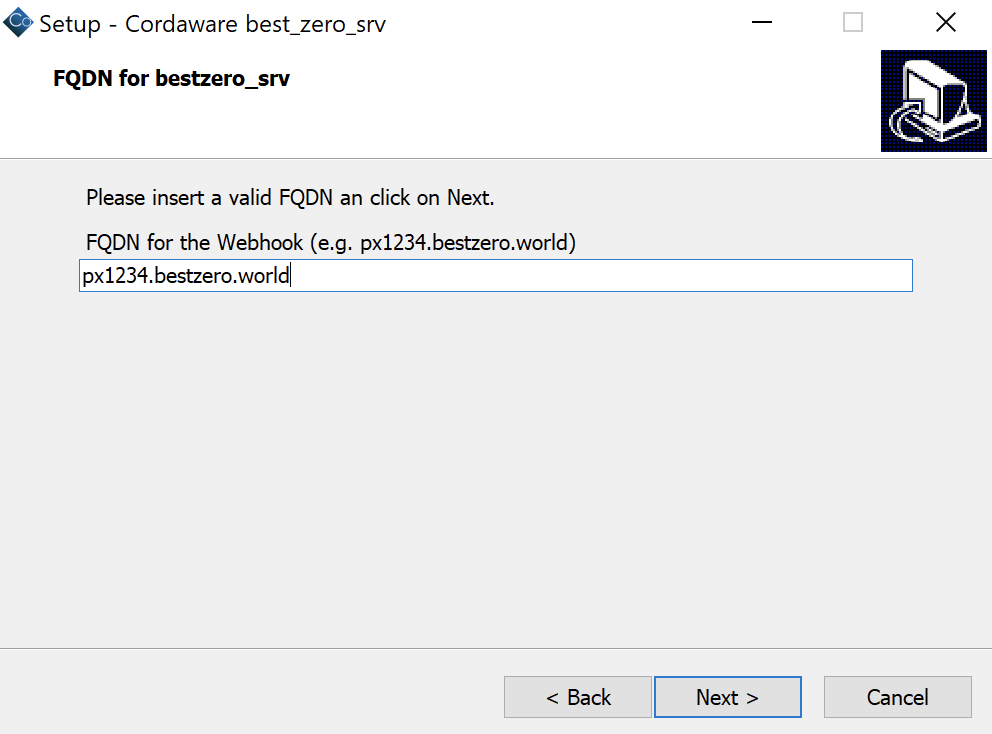
2.2. In the next step you enter the FQDN for the webhook. This was also provided to you by the company Cordaware.
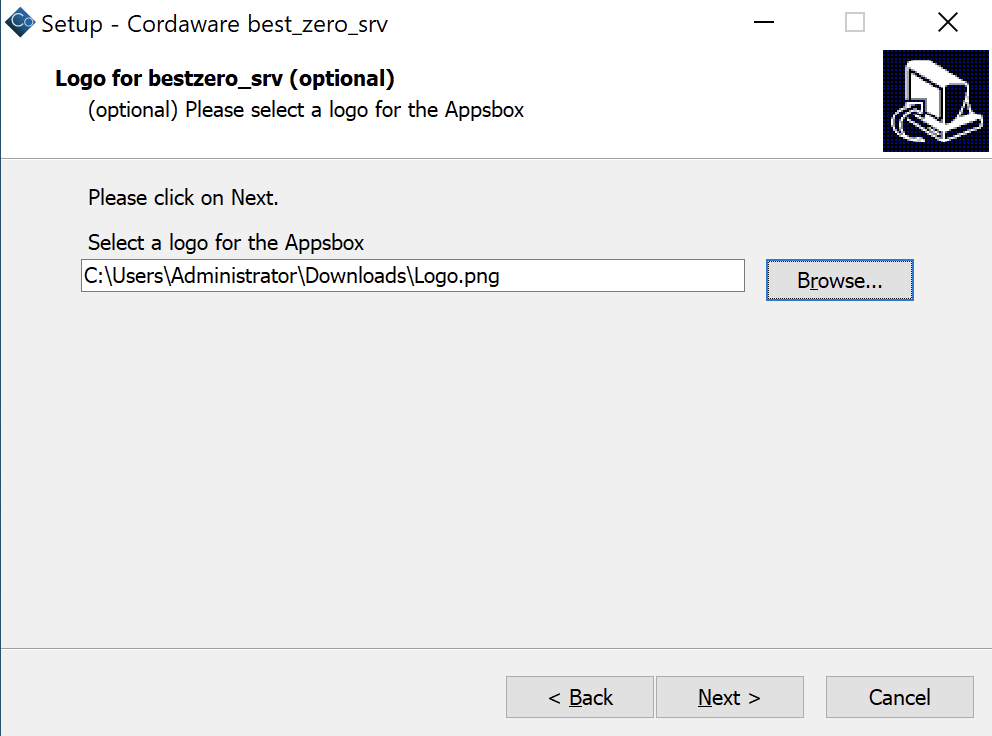
2.3. Next, you can specify a logo in PNG format, which will be displayed to users in the Appsbox.
|
This step is optional and can be skipped. |
3. Domain information:
|
In the following installation steps, the data of your domain is now specified.
This is a Windows Active Directory domain. If you are using a different type of domain, you can adapt it using these instructions after the installation. |
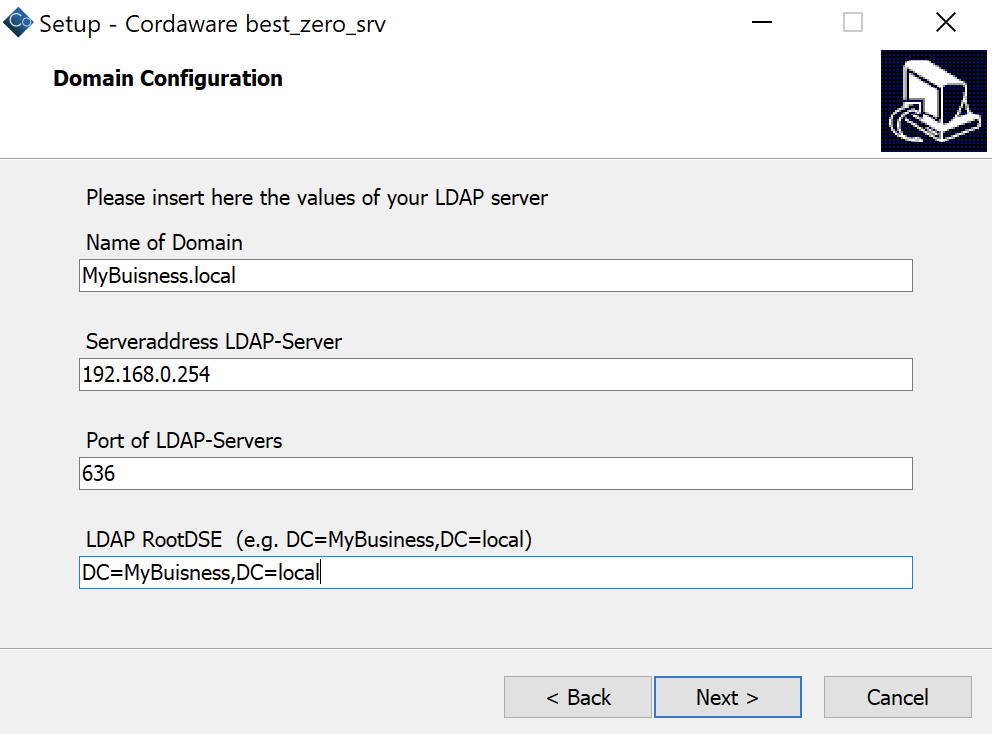
3.1. First enter the following information in the installation wizard:
•Name of Domain
•Serveraddress LDAP-Server
•Port of LDAP-Servers
•LDAP RootDSE (Domain entry point)
3.2. Then the user name and password of a domain user with read permission are required.
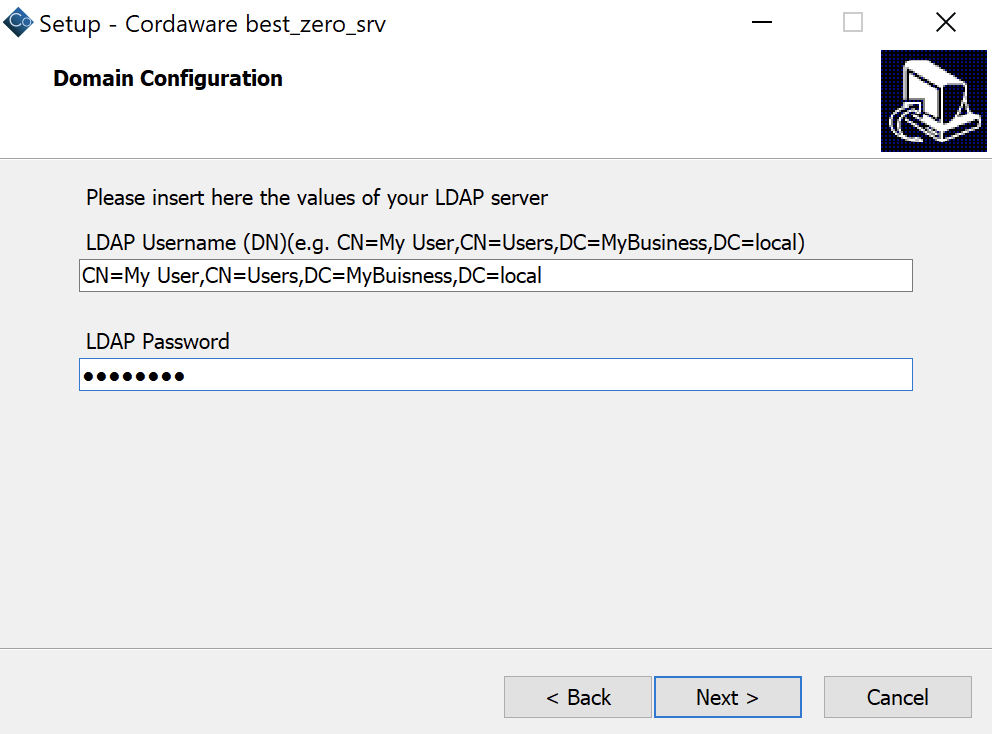
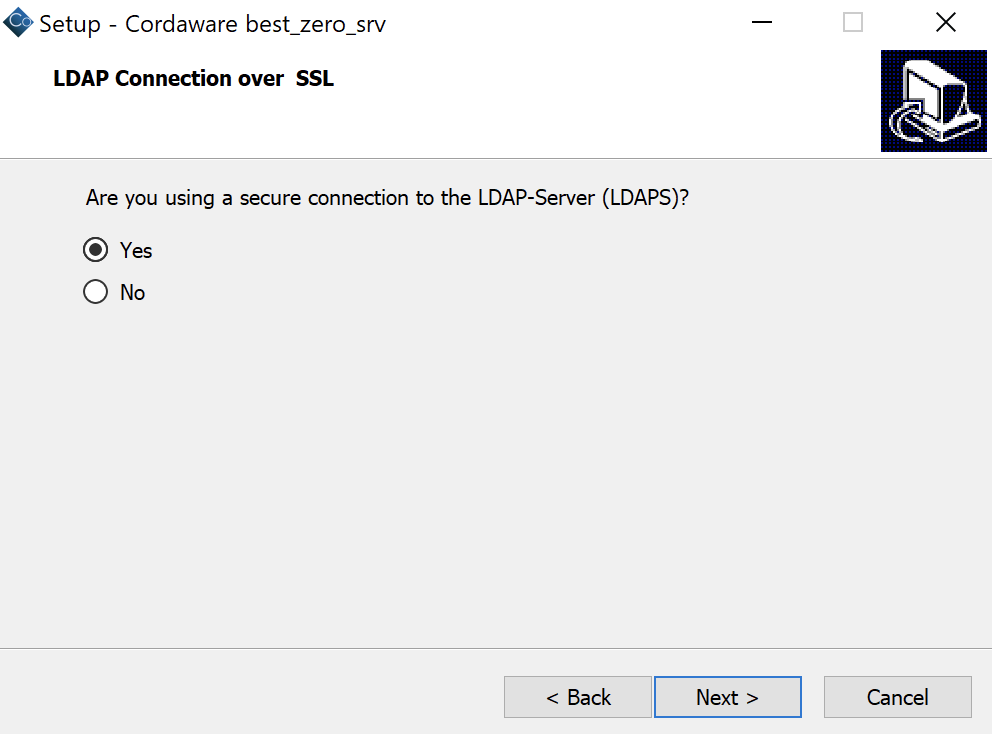
3.3. In the next step you can specify whether the connection to the domain is SSL encrypted or not.
If you do not use an encrypted connection, uncheck the box.
4. SMTP-Information:
|
In the following installation steps, the data of your SMTP server is now required. |
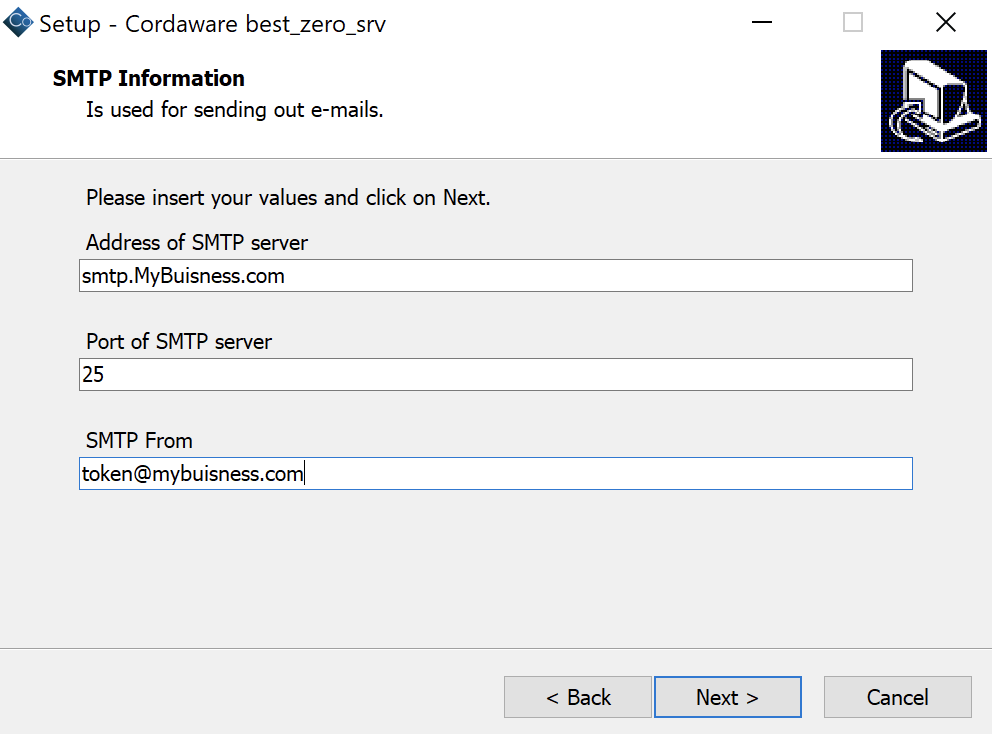
4.1. First enter the following information in the installation wizard:
•Address of SMTP servers
•Port of SMTP servers
•SMTP Form
The SMTP sender address is used as the e-mail sender for sending tokens.
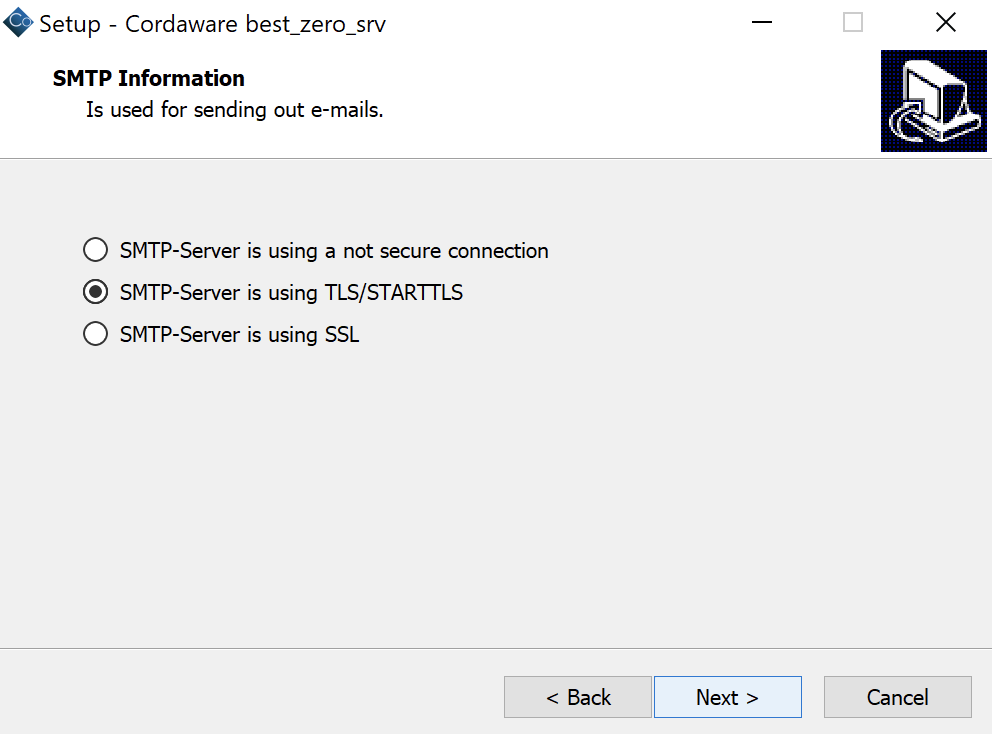
4.2. Next, specify whether your SMTP server uses TLS or SSL.
If you do not use an encrypted connection, uncheck the boxes.
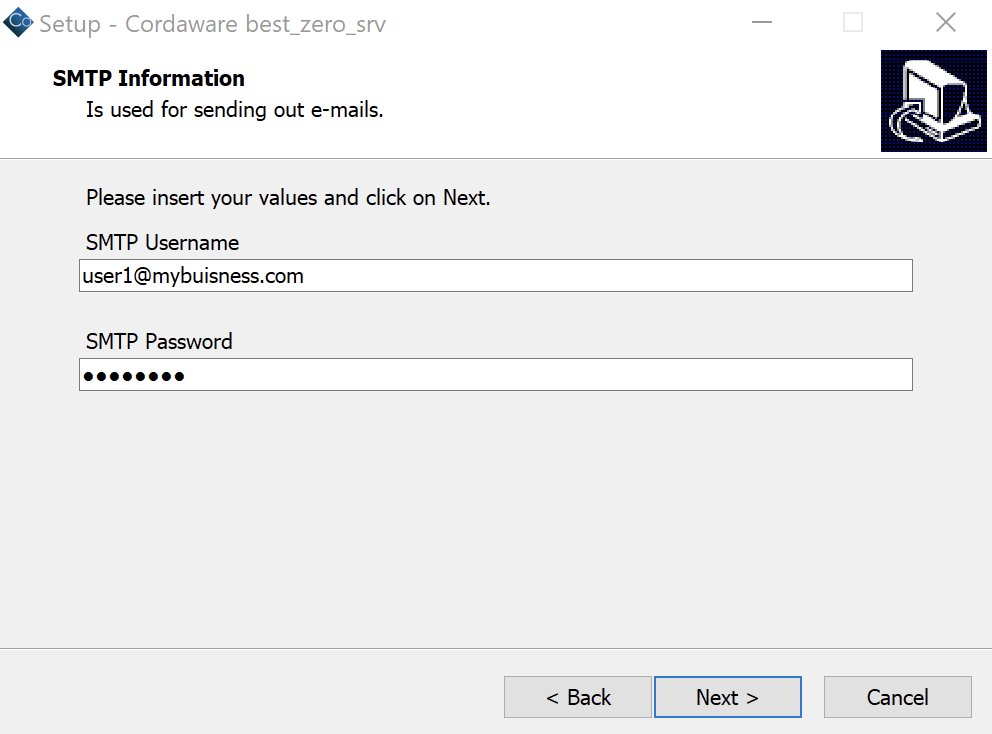
4.3. If your SMTP server requires authentication, now specify a user to be used for authentication.
|
If your SMTP server does not require authentication, you can leave the fields blank and proceed with the installation. |
5. bestzero® Hive Information:
|
In the following installation steps, the bestzero® Hive is now configured. |
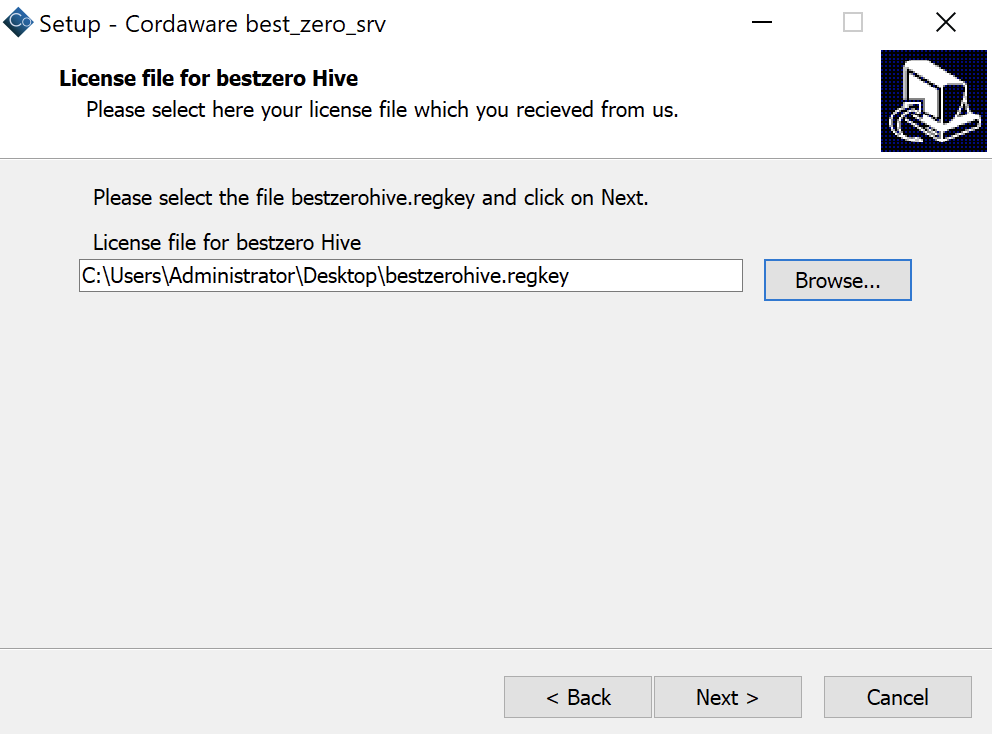
5.1. Here you need the license key "bestzerohive.regkey", which you received from the license management of Cordaware.
To do this, click Browse ... and then select your license key.
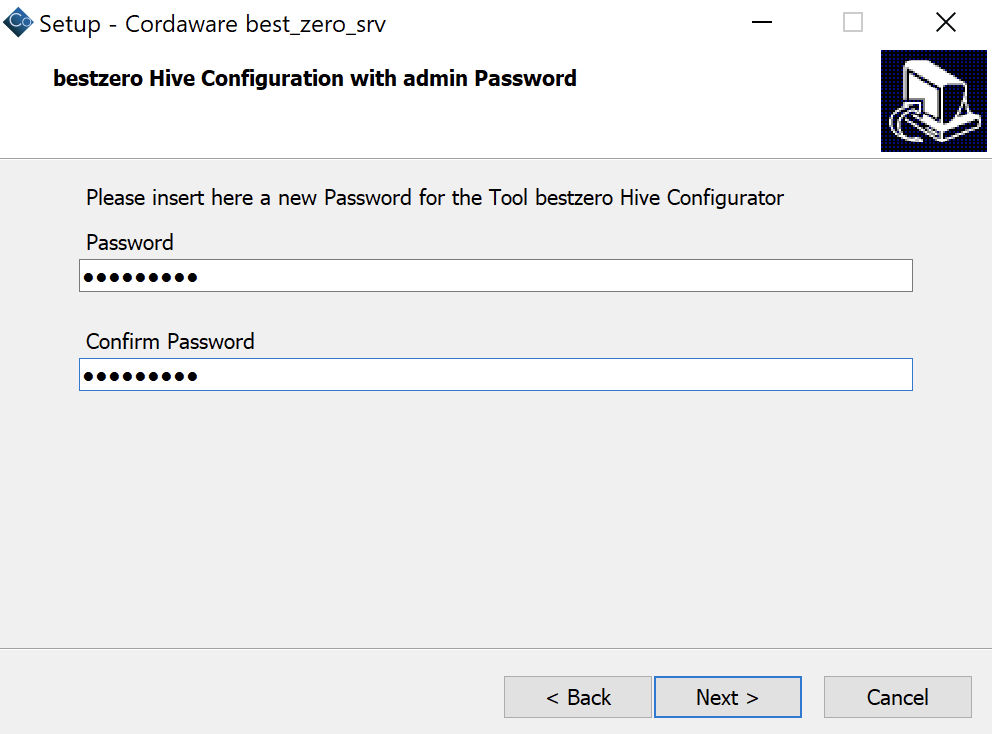
5.2. Now enter a password here, which should be used for the configuration with the bestzero® Hive Configurator.
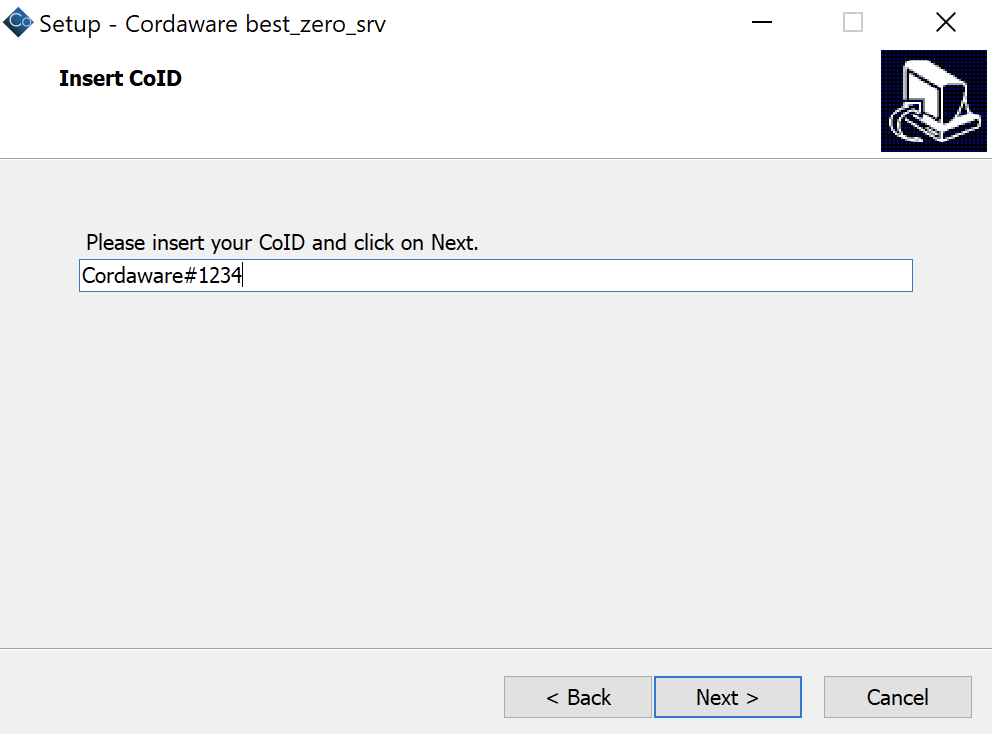
5.3. In the next step, enter your CoID, which you have received from Cordaware.
For example: Cordaware#1234
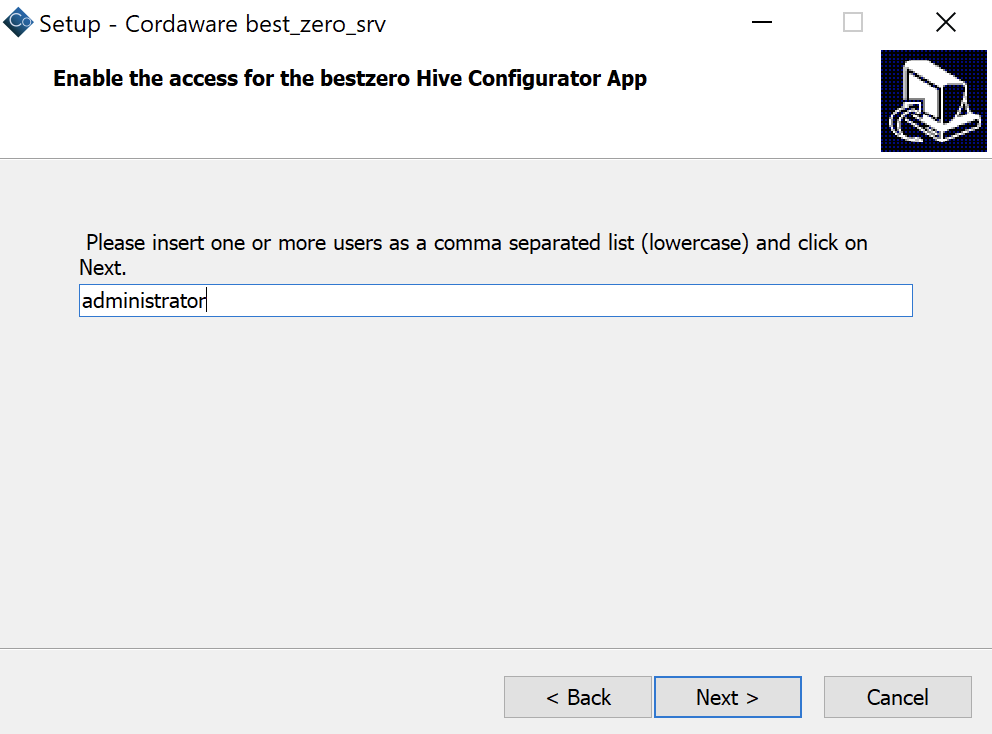
5.4. Now enter one or more login names of your users in a comma-separated list. These users will get access to the Hive Configurator via the bestzero® Appsbox.
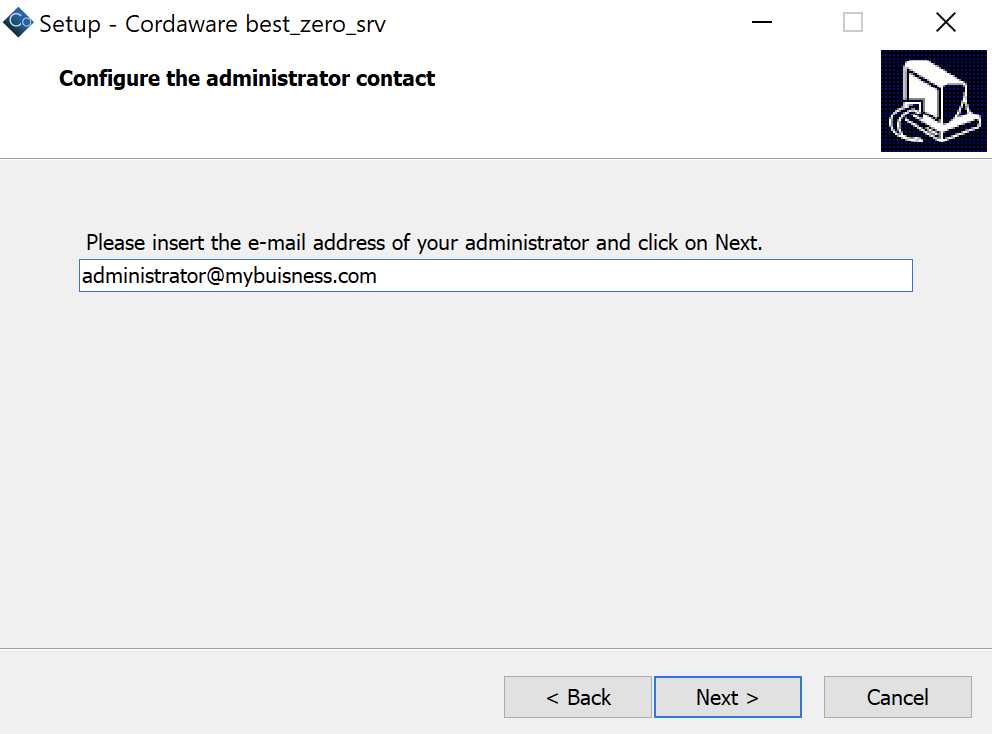
5.5. Here you can now enter the e-mail address of your administrator. This email address can also be a central mailbox.
This email address will be used if a user wants to contact his provider / administrator via the bestzero® Appsbox in case of a question.
6. Completion of the installation:
|
The next steps will complete the setup and start the installation. |
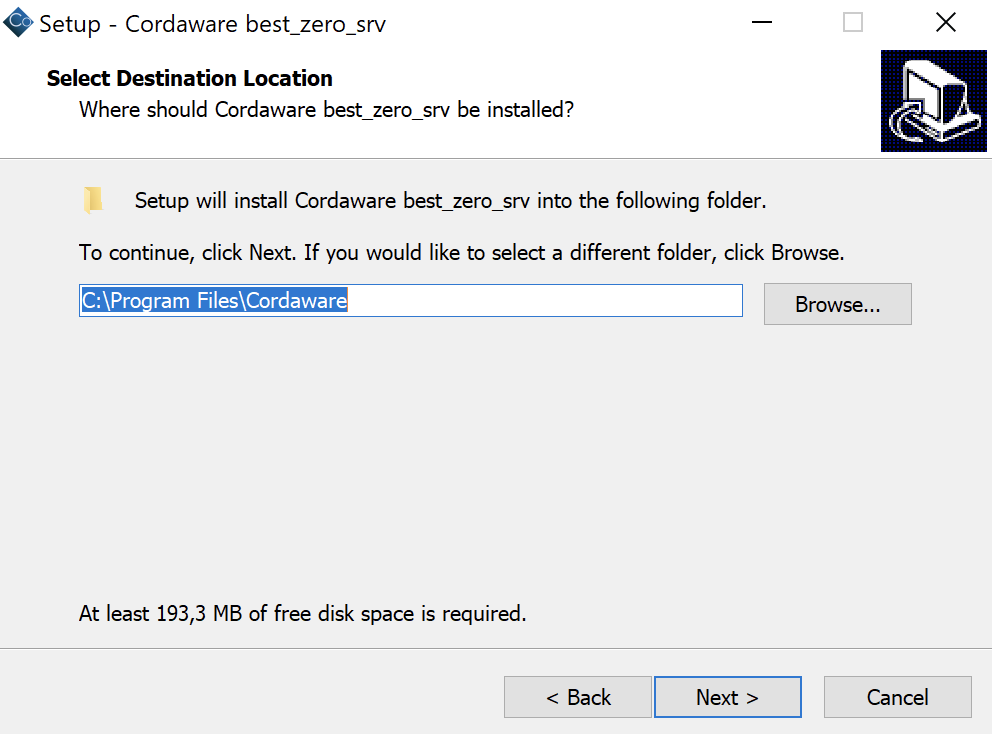
6.1. Now specify the installation path under which you want to install the best_zero_srv.
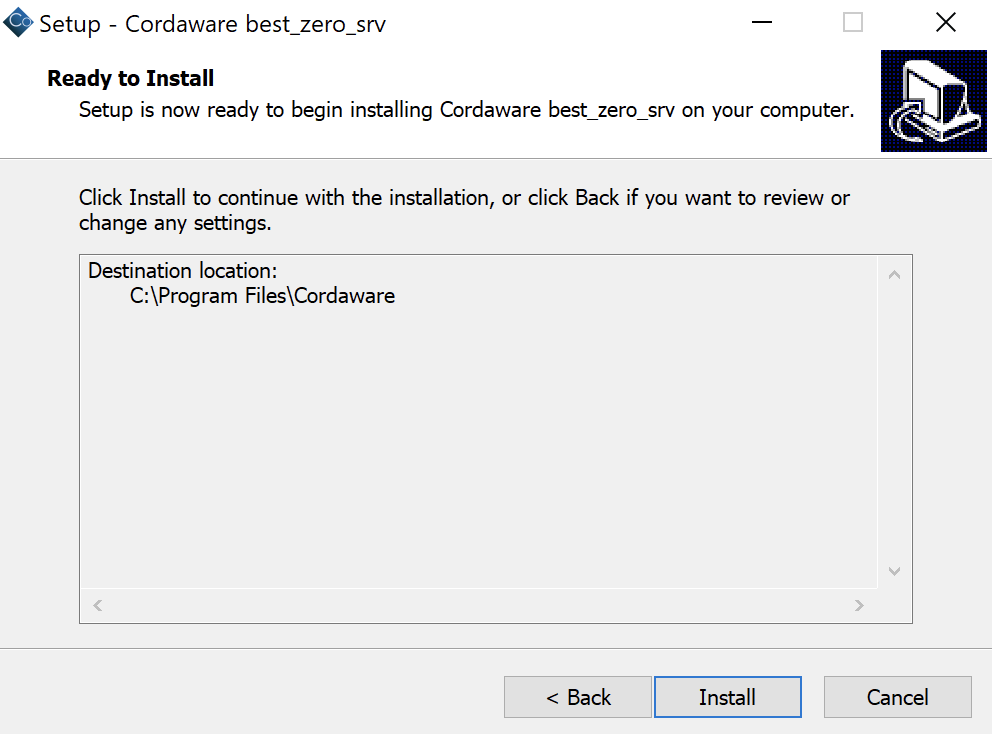
6.2. Done! The setup is now ready for installation. By clicking on Install you can start the installation.
|
After updating your installation, you can use your Hive Configurator again as usual. |