|
!!!Attention!!!
This chapter contains information for the Cordaware bestinformed Infoclient Version 6.2.2.6 and higher! The examples shown in this chapter can't be used for the Infoclient Version 6.2.2.5 and lower! Information regarding the secured connection for Infoclients up until version 6.2.2.5 can be found here.
From Cordaware bestinformed Infoclient Version 6.2.2.6 and higher, no unsecured connection can be established from the Infoclient to the Infoserver. Only a secured connection is possible. |
|
Information regarding Infoclients from Version 6.2.9.4 and higher:
Infoclients with Version 6.2.9.4 and higher will establish a secured connection to the Infoserver via PSK. SSL certificates will no longer be needed but can still be installed optionally.
Please note that the Infoserver in Version 6.1.7.8 or higher is required additionally.
The configuration of the PSK secured connection will be done automatically and does not require additional work from your administrator.
|
How to set up a SSL secured client connection on Windows:
|
In order to establish a secured connection, a valid SSL certificate as well as the key for the certificate are required. Both need to be in the ".pem" format. You can use an already existing certificate for your server or get a new one from a trusted certification authority.
Recommendations for the key of the certificate:
- 4096 bit encoding - SHA 256 |
After you have installed Cordaware bestinformed Version 6 with the Infoclient of Version 6.2.2.6 or higher, please proceed as follows:
Settings on the client:
1.) The certificate has to be imported as local computer on your Computer for the Infoclient.
|
Please note:
In our example the certificate will be imported manually on a client PC.
In larger environments the certificates usually are distributed via Group policies. The certificate does not need to be imported on every client manually. |
First open the Microsoft management console.
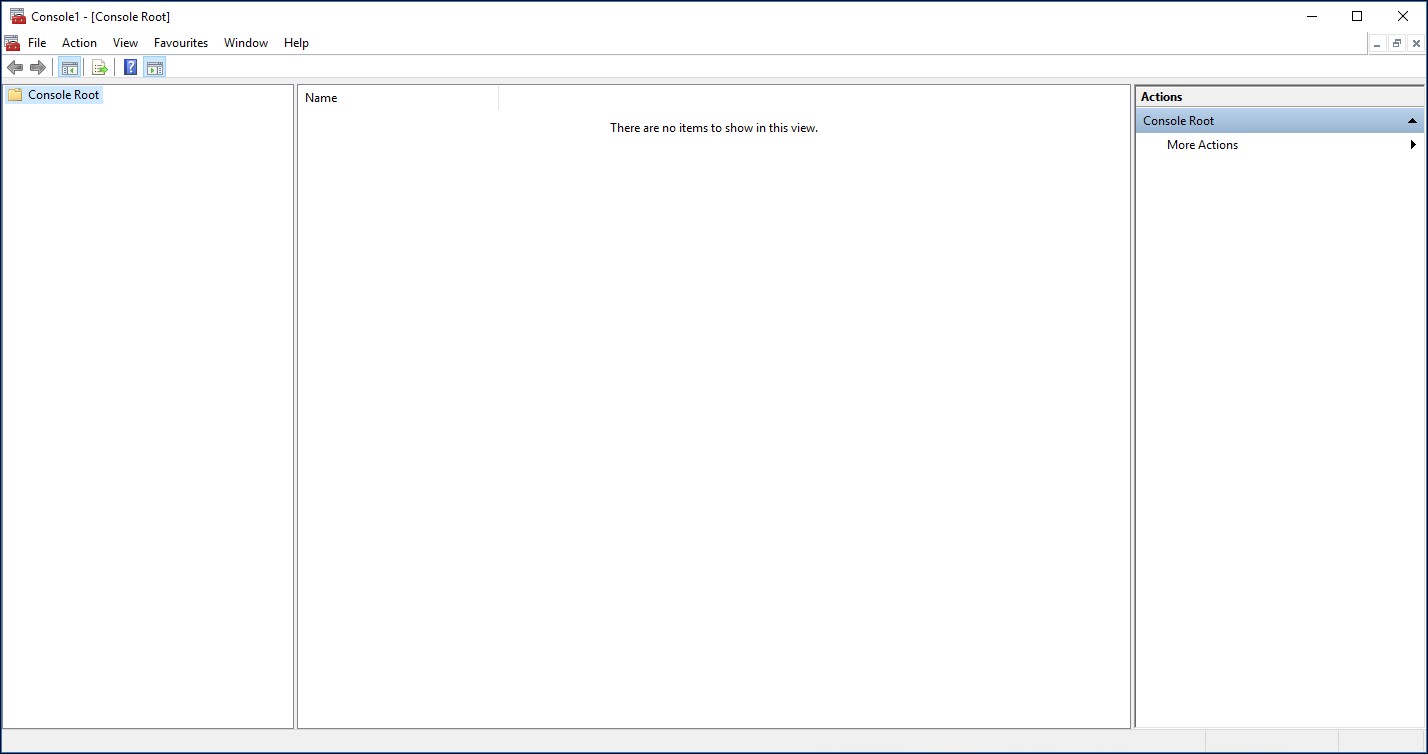
Now click on "File" > "Add/Remove Snap-In".

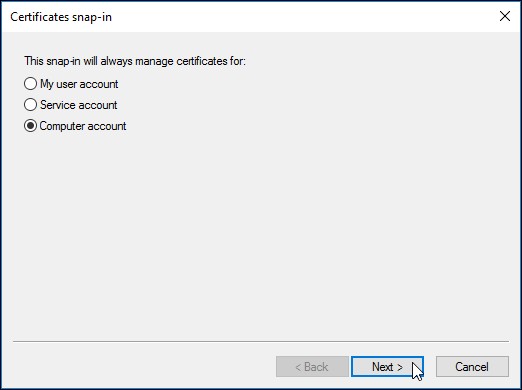
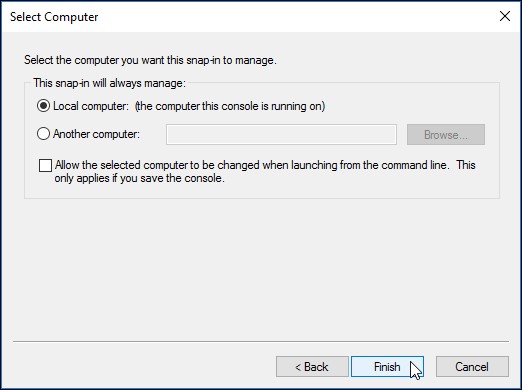
Now you can add Certificates as local Computer to your Snap-Ins.

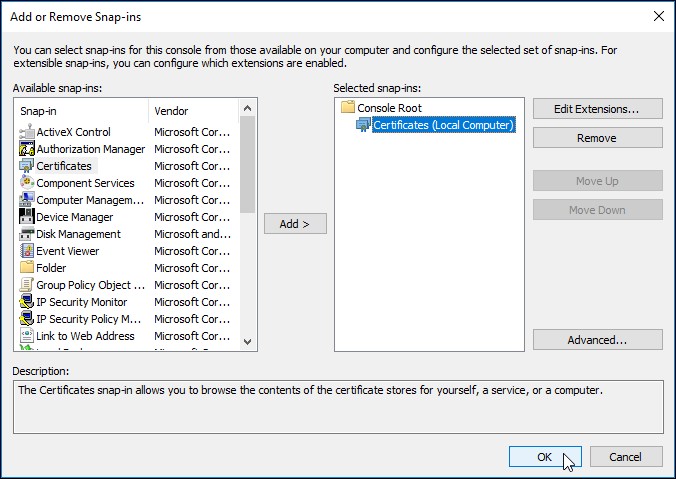
After adding certificates to your Snap-Ins you can now check your certificates of trusted certification authorities.
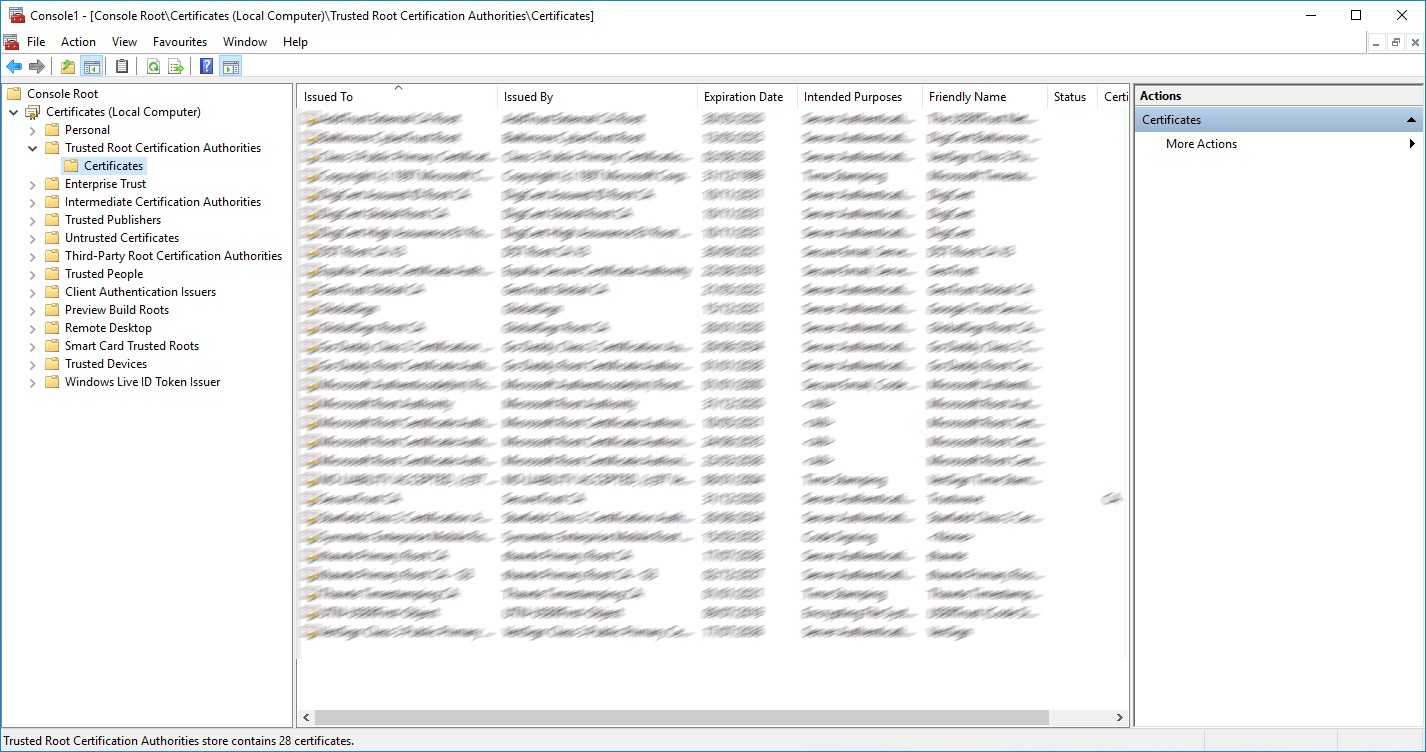
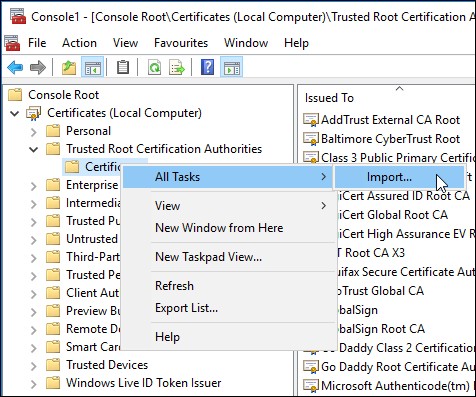
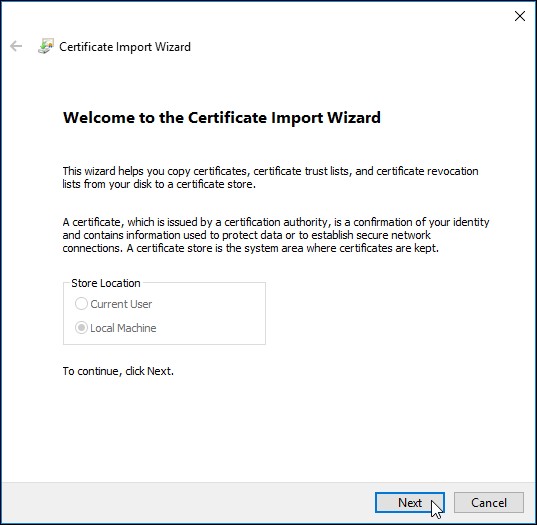
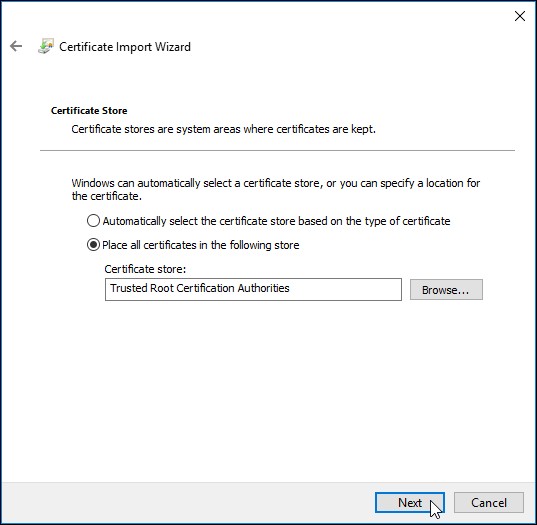
Your certificate for the Cordaware bestinformed Infoserver can now be imported here. Please follow the steps of the Certificate Import Wizard.
Now you can select our certificate which you want to import.
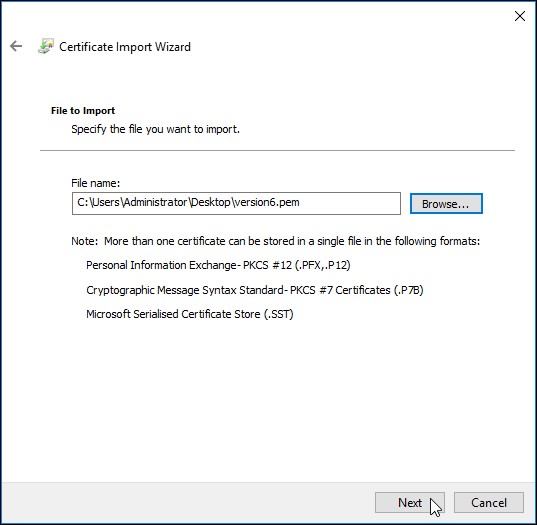
Save your certificate in the Trusted Certification Authorities. After a click on next you can finish your import.
Settings on the server::
2.) In the next step the certificate will be imported to the Infoserver. For this proceed as follows:
First the "Cordaware_bestinformed_best_srv" service need to be stopped.
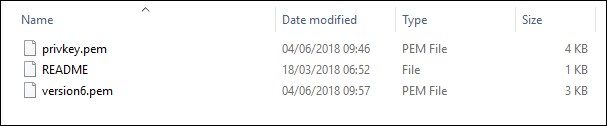
Afterwards the certificate and it's key need to be put into the according folders in the installation folder of Cordaware bestinformed. e.g. "C:\Program Files\Cordaware\best_srv\etc\certs".
In our example the certificate has the name "version6.pem" and the key has the name "privkey.pem".
Now the Infoserver requires to know the name of the certificates. For this, open the "app.config" file which can be found in the installation folder "best_srv\data\configs".
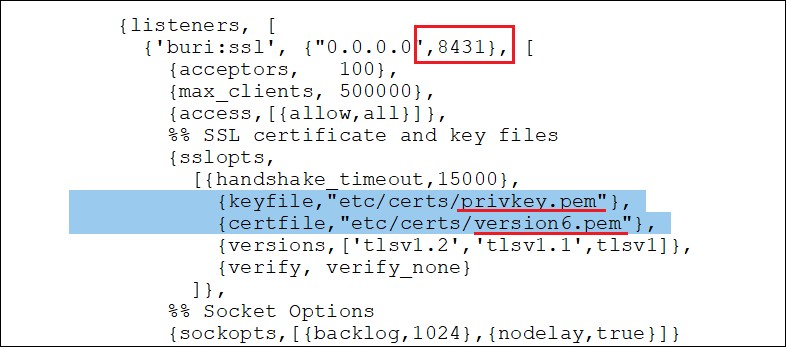
In this file you can now enter the names of your certificate and key which should be used. Only adjust the names in the section shown in the following picture. Afterwards you can save your changes.
|
Please note:
There are different sections in the "app.config" which look alike each other. For the secured client connection the file names of the certificate and the key need to be adjusted in the section of the client connection. The client connection section can be recognized via the default port 8431. |
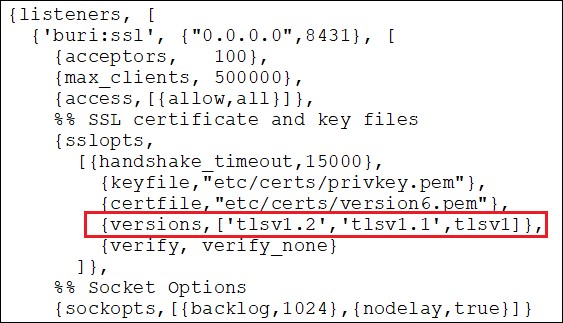
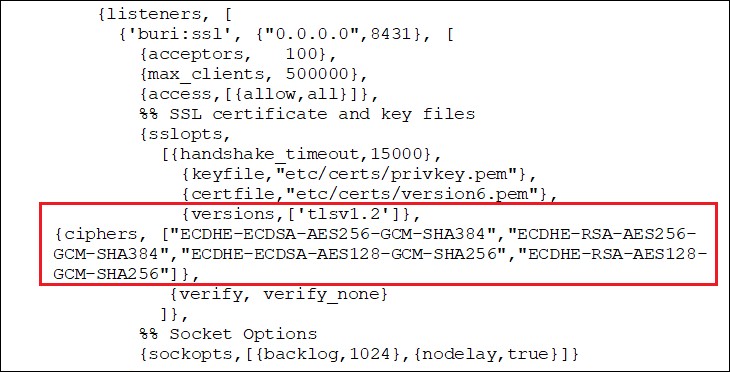
Please check, if the settings and Ciphers for TLS 1.2 are set in your "app.config". They can be found below the names of your certificates.
If the settings and Ciphers for TLS 1.2 aren't set yet, you can copy the text below and exchange the current content in your "app.config" with it.
|
{versions,['tlsv1.2']}, |
"app.config" without TLS 1.2 Cipher:
|
"app.config" with TLS 1.2 Cipher:
 |
The service "Cordaware_bestinformed_best_srv" can now be restarted.
Completion:
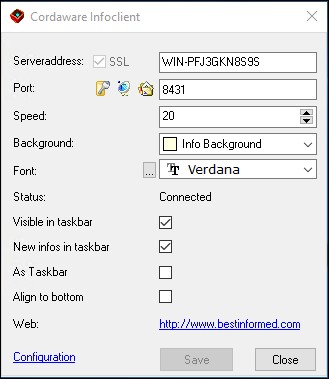
3.) Enter the FQDN / the address of your Infoserver in to your Infoclient now. The Client will now establish a SSL secured connection. The secured connection will use the port 8431 by default.
|
Please note:
Please try to restart your Infoclient service first if your Infoclient can't establish a connection to your Infoserver. A restart of the service makes sure that the certificates you imported are used. |
Additional Information regarding root certificates
If a root certificate is used, a certificate needs to be created for the root certificate as well.
In order to use your certificate for the root certificate for Cordaware bestinformed, proceed as follows:
1.) Save your certificate (in .pem format) in the installation path of Cordaware bestinformed (Default: C:\Program files\Cordaware\best_srv\etc\certs).
2.) In the next step, the app.config file of the server needs to be adjusted. The app.config can be found in the installation path in the folder "best_srv\data\config".
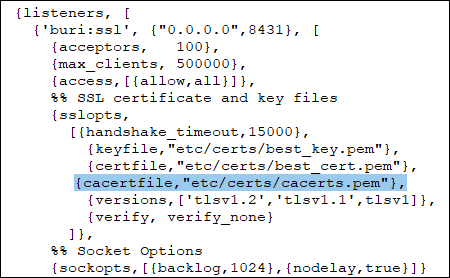
3.) Now copy the following text and paste it in the section for the secured client connection in the app.config as shown in the image below. Afterwards the name of the certificate can be adjusted.
|
{cacertfile,"etc/certs/cacerts.pem"}, |
4.) After saving your changes the Cordaware_bestinformed_best_srv service needs to be restarted.